As technology advances, our digital entertainment options have grown exponentially. A high-quality projector screen can enhance your viewing experience, making your favorite games, movies, and sports come alive. The best projector screen paint can drastically enhance this visual experience. Our top choice for projector screen paint is Paint on Screen (>>> Check the current price on Amazon).
I’ve been an avid projector user for years, experimenting with different ways to create the perfect home projector screen. From stapling tablecloths to constructing portable screens, I’ve even used paint to transform an entire wall into a gigantic screen. The most successful method, in my opinion, is to convert a wall in your home into an accent wall that doubles as your projector screen.
Decoding the Best Projector Screen Paint
Choosing the ideal projector screen paint isn’t as straightforward as you might think. Several factors come into play when determining the type of paint that will provide you with the best performance.
Projector’s Lumen Output Ambient Light in Your Space Your Preferred Viewing Content
All three factors affect the image brightness on your projector screen. Rooms with more ambient light or lower lumen projectors necessitate a more reflective projector screen paint to maintain vibrant colors. Conversely, higher lumen projectors and spaces with less ambient light require less reflective paint to avoid creating glare.
The content you watch also influences the type of paint you should use. Programs with brighter visuals need less reflective paint, while darker programs benefit from more reflective paint. For video games and HD movies, I’ve discovered that a slightly higher reflectivity is needed to achieve the deep black color these mediums often utilize.
The Advantage of Special Projector Screen Paints
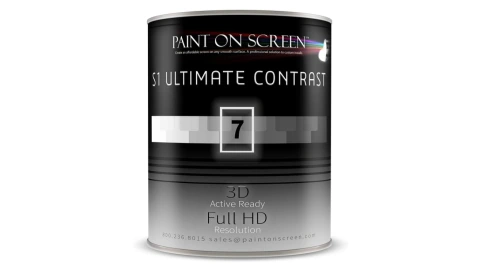
The best solution for your projector is specialized projector screen paints. These are formulated to optimize your home theater experience. Reputable brands like Digital Image Screen Paint or Paint on Screen have specific formulas that adjust the paint to your setup.
The drawback with these paints is their high cost, often ranging from $150-200 per gallon. But if this is beyond your budget, there are more affordable options at your local hardware store.
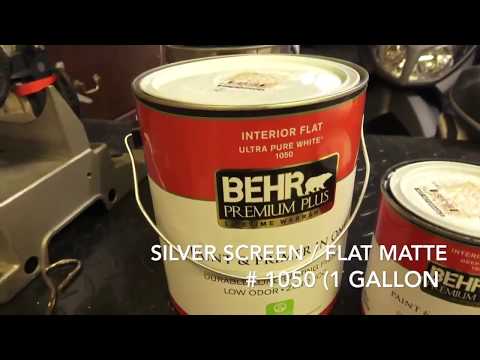
Exploring Other Projector Screen Wall Paint Alternatives
Acrylic paint is a less expensive alternative that still offers decent quality for DIY home theater enthusiasts (>>> Check prices on Amazon).
Latex paint is the least expensive option and also the easiest to apply. It has the shortest lifespan among the paints available for home theaters but covers a wider area per gallon than screen and acrylic paints.
For these more affordable options, satin-finish paints often perform the best. Satin strikes the right balance between absorption and reflection, enabling accurate color reproduction without creating glare from the projector light.
Setting Up Your Projector Screen Wall
There are countless reasons to invest in a projector, one of the most compelling being the sheer size of the display. There’s nothing quite like showcasing your 161″ display to a friend who just purchased a 70″ screen. That’s the impressive scale you can achieve with a good projector and a 9-foot by 10-foot screen.
My favorite movies, sports events, and video games become life-sized with a projector. (>>> Check projectors for sports buying guide) When paired with a high-quality sound system, it provides the ultimate viewing experience.
Before you select your projector screen paint and dive into your viewing, there are a few details to address.
Setting Up Your Projector Screen Wall: A Comprehensive Guide
-
Choose Your Wall
Not just any wall in your home will suffice. You need a wall large enough to accommodate your screen size, leaving a little extra room at the edges. Different input sources display images of various sizes, so ensure your chosen wall can handle a variety of images.
-
Prepare Your Wall
Once your wall is chosen, it needs to be cleaned and checked for imperfections like bumps and irregularities from previous paint jobs. To do this, darken the room as much as possible and shine a light across the wall’s surface to reveal any raised areas.
Light sandpaper can be used to smooth out any uneven sections of the wall. Although this step can be a bit tedious, it helps to prevent image distortions, like unexpected shadows or strange shapes appearing on your screen.
After your wall is smooth and even, use soapy water or a mild detergent to clean off any dust and dirt. This step ensures that your new projector screen paint adheres evenly and properly.
-
Apply a Base Layer
With a clean, smooth wall, it’s time to lay down a layer of white primer. This will give you an even color base for your projector paint. As your projector paint will reflect the light from your projector, an uneven color base can result in distorted image reflection.
Choosing the Best Wall Paint for Your Projector Screen
A well-selected wall and the best projector screen paint are the first steps towards a home theater that could rival your local cinema. Always consider the capabilities of your projector when choosing your paint, and never rush the process. With the right approach, you can create an incredible cinematic experience at home.
-
Using Painter’s Tape
For clean, crisp edges on your projector screen, it’s essential to use painter’s tape. Apply it along the edges of your screen area before you begin painting. This will ensure that your projector screen paint doesn’t spill over onto the rest of your wall.
-
Choosing the Right Paint Color
While white is the conventional choice for projector screens, you might want to consider a grey or silver paint color. These colors can enhance contrast and help with black level reproduction, particularly if you’re using a lower-lumen projector or have some ambient light in your room.
-
Opting for the Best Paint
The market offers various screen paints, each with its unique pros and cons. It’s crucial to research and select the best paint that suits your specific needs and setup.
-
Applying the Projector Screen Paint
Once your base layer is dry, it’s time to apply your projector screen paint. Ensure you apply it evenly across the entire surface of your screen area to avoid any patches or streaks that could impact your viewing experience.
-
Allowing Sufficient Drying Time
After applying the projector screen paint, it’s essential to allow it sufficient time to dry before using the screen. This will ensure the paint is fully set and won’t be disturbed by the heat from your projector.
-
Checking for Imperfections
Once your paint is dry, check your screen for any imperfections. These could be patches where the paint is uneven or areas where the base layer is showing through. If you find any such spots, another coat of projector screen paint might be needed.
-
Enjoying Your New Projector Screen Wall
After all the hard work, it’s time to sit back, relax, and enjoy your new projector screen wall. Whether you’re watching a movie, playing a game, or catching up on the latest sports, the experience will be greatly enhanced by your DIY efforts.
-
Regular Maintenance
Maintaining your projector screen wall is as important as setting it up. Clean it regularly to ensure it remains in the best possible condition, providing you with a high-quality viewing experience for years to come.
-
Upgrading Your Paint
As you become more experienced with projector screens, you might want to consider upgrading your paint. There are several high-end projector screen paints on the market that can further enhance your viewing experience.
-
Exploring 3D Projection
With the right screen paint, you can even explore 3D projection at home. Certain paints are designed to work well with 3D projectors, allowing you to bring this immersive viewing experience into your living room.
-
Using Digital Screen Paint
Digital screen paint is another option to consider. This type of paint is specifically designed to enhance the quality of digital projections, making it a great choice if you watch a lot of digitally streamed content.
-
Final Thoughts
The journey towards creating the perfect home theater experience starts with selecting the best projector screen paint. It’s an investment in your entertainment setup that can provide you with an unparalleled viewing experience.
With the right planning, preparation, and execution, you can transform an ordinary wall into an extraordinary viewing platform. From the base layer to the final touch-ups, each step is crucial to achieving the best possible result. Remember, patience is key in this process. Take your time, don’t rush the job, and soon you’ll be enjoying cinematic experiences without the need for overpriced popcorn and candies.
REFERENCES AND FURTHER READING:
- Instructables.com on Building Projector Screen on a Budget
- DIY Projection Screen Paint Tests by Makezine.com
- How to choose the best laser projector? Buyer’s guide
- Gray vs White Projector Screen: the Differences