Understanding Projector Screens and Their Installation
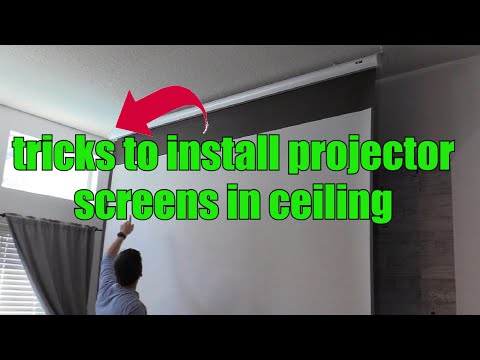
 Mounting a projector screen from the ceiling is an effective way of utilizing the space in your viewing room, but it can pose some challenges. The installation process requires precision and consideration of many factors, from the screen size to the projector’s throw distance. The following guide dives deep into these aspects and provides a comprehensive, step-by-step approach to hanging a projector screen from the ceiling.
When to Opt for Ceiling Installation of Projector Screens
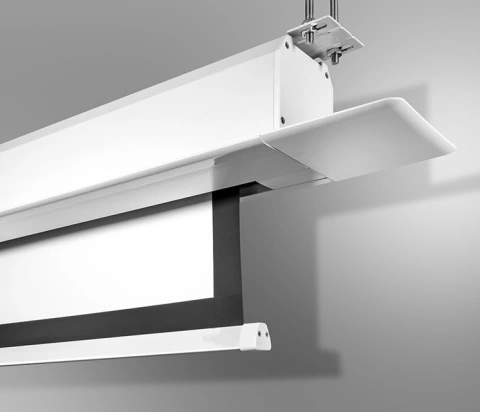
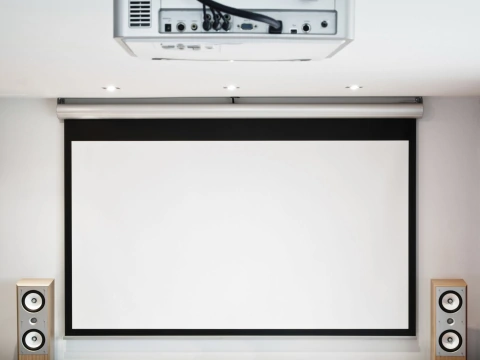
Installing a projector screen on the ceiling works best when the screen possesses a large adjustable black border at the top. This style of installation may seem daunting, but it has its unique advantages. For instance, hanging the projector screen ensures it remains unobtrusive when not in use, particularly when it is motorized and can be easily lowered or raised via remote control.
Identifying the Purpose of Your Projector Screen
Your need for the projector screen greatly influences its placement. Whether you aim to enjoy an HD movie or utilize it for professional PowerPoint presentations, selecting a projector that meets your requirements is critical. Moreover, the projector mounts should be chosen in accordance with your purpose and the screen size to ensure optimal image quality. (>>> Find great projector screen offers on Amazon)
Benefits of Ceiling Mounts for Projector Screens
Ceiling mounts offer the added benefit of keeping your projector screen safe and less noticeable compared to wall projector screens. Motorized projector screens hung from the ceiling are more resistant to damage, offering a tidy, professional appearance, especially when not in use.
Preparing for the Installation Process
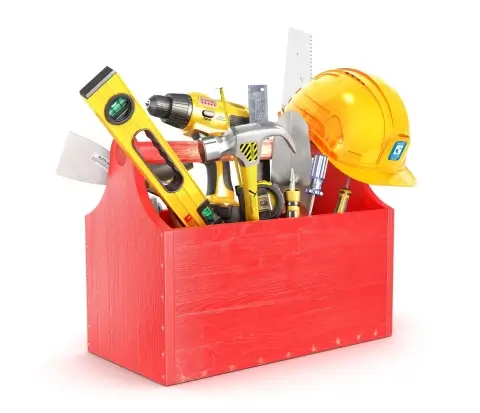 Before you begin the process to hang a projector screen from the ceiling, you need to gather all necessary tools. Essential items include a ladder, stud sensor, a drill, a screwdriver, and the brackets for hanging the projector screen.
First Step – Locating the Ceiling Joists
The first step to hang the projector screen involves identifying the ceiling joists that will serve as a secure anchor for the brackets. Use a stud sensor to locate the wood ceiling joists, as the typical drywall finish on most ceilings isn’t sturdy enough to hold the weight of a projector screen.
Second Step – Centering and Marking the Brackets
After finding the joists, it’s crucial to align each bracket centrally on each joist. Proper alignment ensures the screws securely anchor the bracket. Following this, mark the points on the bracket where the screws will be inserted, readying them for drilling.
Third Step – Drilling the Holes and Fastening the Brackets
 After marking the points, it’s time to drill holes into them. Be careful to hold the drill vertically for the screws to go in straight. Once the holes are drilled, fasten the bracket to the stud using the screws provided. Repeat these steps for the other bracket on the opposite side.
Fourth Step – Attaching the Projector Screen to the Brackets
With both brackets securely fastened to the ceiling, the next step is to attach the projector screen and its case to these brackets. Ensure you handle the screen with care during this step to avoid damage.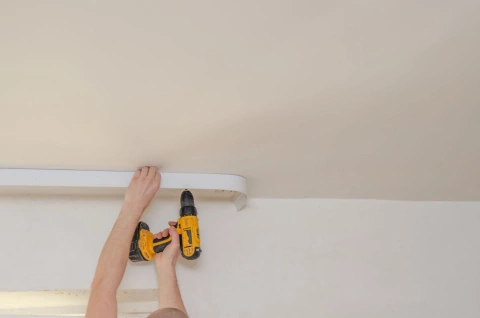
Adjusting the Screen Position with Bracket Extensions
In some cases, the height of a standard ceiling might be too high for your desired viewing position. Here, bracket extensions can be useful. These extensions help adjust the projector screen and housing to an appropriate level, aligning with the projector’s throw distance for optimal viewing.
Considering the Projector’s Throw Distance
It’s essential to keep in mind the projector’s throw distance when hanging a projector screen from the ceiling. This refers to the distance between the projector and the screen, which can significantly affect the image quality. An improperly placed projector might lead to a too-large or too-small image, degrading your viewing experience. Use our throw distance calculator here.
Understanding Vertical and Horizontal Lens Shift
To further optimize image quality, consider the projector’s vertical and horizontal lens shift capabilities. These features allow you to adjust the position of the projected image without moving the projector, a particularly useful feature when dealing with ceiling-mounted screens.
Importance of Using a Ceiling Hook
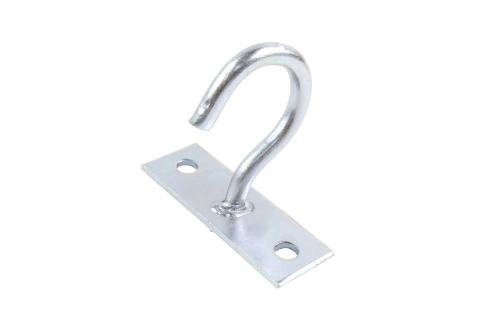 To ensure the stability and safety of your projector screen, make sure you secure it with a ceiling hook. This hook will provide an additional layer of security, preventing any accidental falls and damage.
Finalizing the Projector Screen Installation
Once your projector screen is securely installed, do a final check. Make sure it can be easily and safely raised and lowered. If your screen is motorized, test the remote control functionality to confirm its smooth operation.
Ongoing Maintenance of Ceiling Mounted Projector Screens
After successful installation, don’t forget the importance of regular maintenance. Keep the screen clean, and ensure the ceiling mounts remain securely fastened over time. Regular checks help prolong the lifespan of your projector screen and preserve the image quality.
Conclusion – Enjoying Your Newly Mounted Projector Screen
 Once your projector screen is securely hung from the ceiling, it’s time to enjoy your hard work. Whether for work presentations or cozy movie nights, your projector screen will now offer a top-notch viewing experience thanks to its optimal positioning.
Reminder: Always Follow the Manufacturer’s Instructions
While this guide offers an in-depth look into installing a projector screen from the ceiling, always consult and follow the manufacturer’s instructions that come with your particular projector screen and mounts. Each model may have unique requirements or specifications that need to be considered.
Also, remember that if you decide to hang the screen on the wall instead, there are separate guidelines and tips to follow.
And with that, you’re all set to enjoy your ceiling-mounted projector screen!
REFERENCES AND FURTHER READING:
- Best Projector Screens for Outdoors
- Motorized Projector Screens – Top Picks